Personal Work || Macro v. 1

1 Comment

Personal Work || Macro v. 1

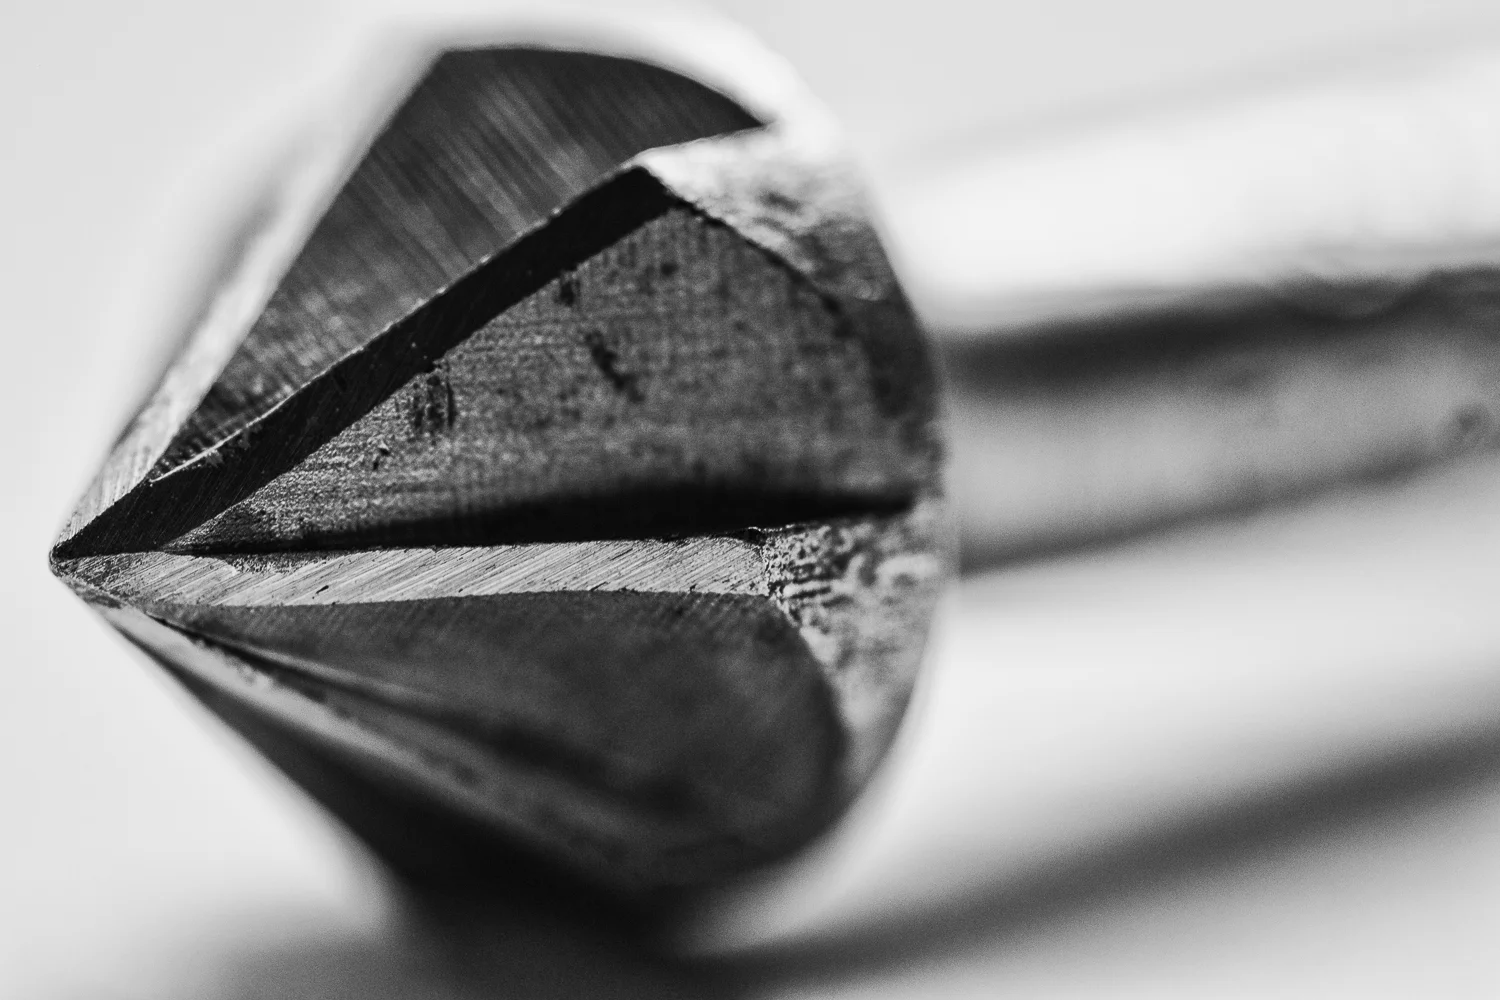
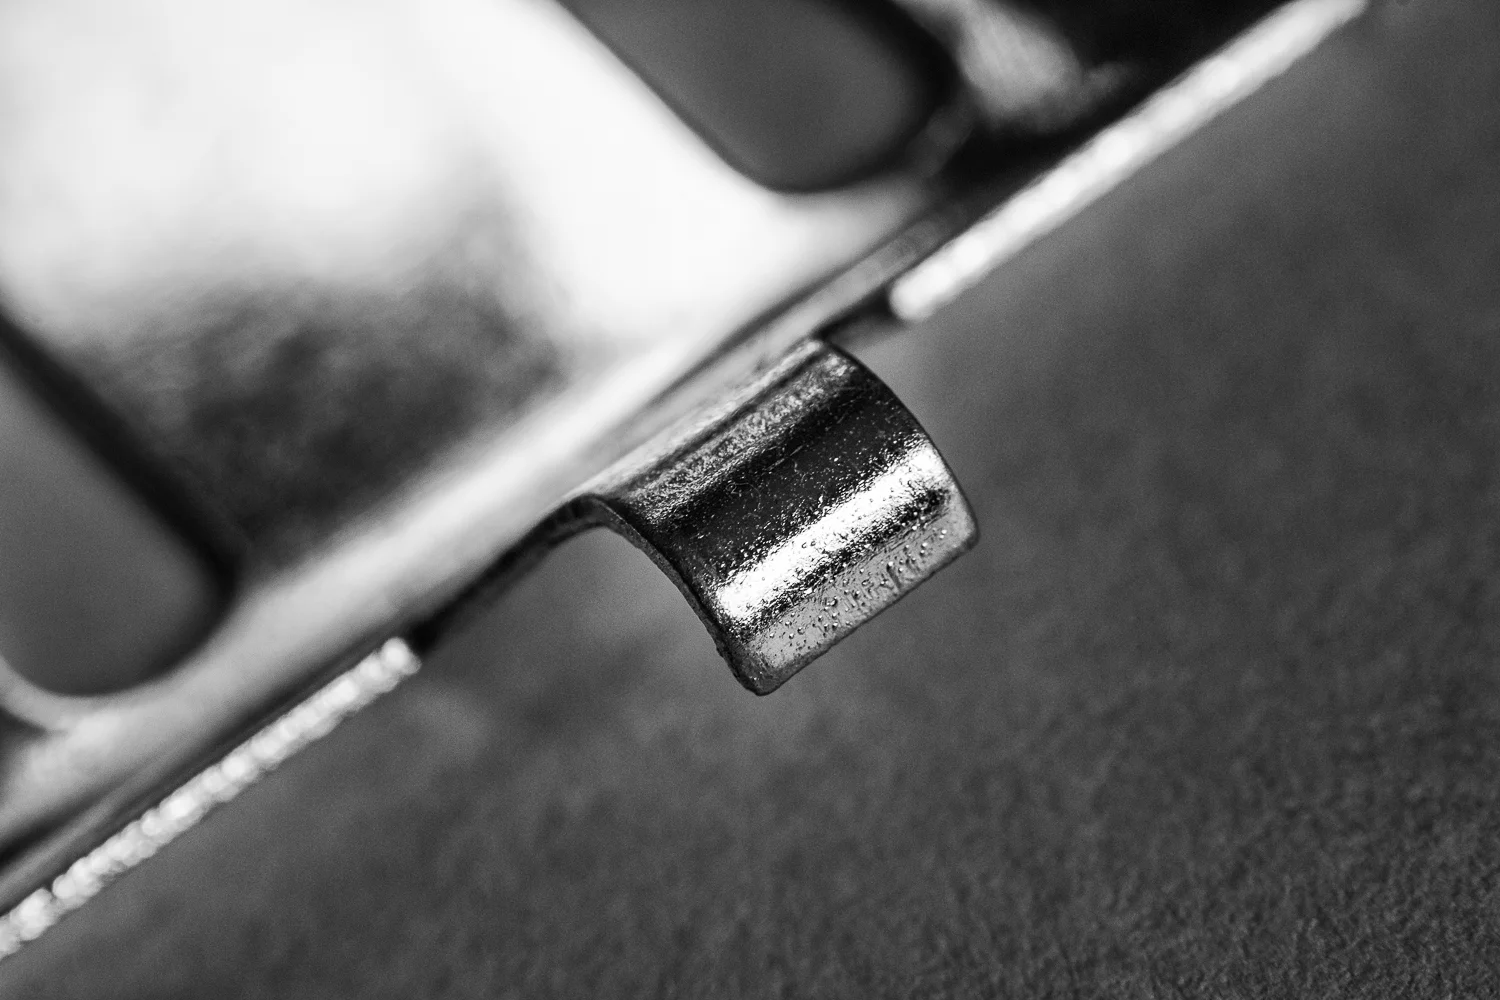
Just a bit of macro photographed earlier in the week for pure pleasure! Later on today, I get to return to ACC as an alum and discuss my macro and portrait portfolios with high schoolers. It'll be a new experience and one I'm really looking forward to!

And for the curious among you, I've included a behind-the-scenes shot of my set up for this little shoot!


My set up is extremely high tech!

  • A tray table
  • Natural light through the window
  • A piece of blank copier paper

Not included were the couple pieces of folded paper I used as reflectors and my computer for some much needed mood music. Special thanks to Franks Sinatra.

Any guesses as to what I was photographing? Leave yours in the comments below!

1 Comment

Much Ado About Macro

Comment

Much Ado About Macro

I really love macro photography! I was chatting about photography at a party recently and I was asked what macro photography is. Great question!

Macro photography is when the object you're photographing is the same size on your camera sensor as it is in real life. Or, when the object is reproduced at its actual size, as my textbook put it ("Closeup Shooting" by Cyrill Harnischmacher).

But you can enlarge the object further than actual size, too! To achieve that level of magnification, you often need a special macro lens. My favorite body of work during my time at ACC was a macro series. The school has equipment for the students to use and I was able to borrow the beautiful (and expensive) 200mm macro lens.

I don't own a beautiful (and expensive) macro lens, but that doesn't stop me from taking macro photos. My very first semester at ACC, my professor taught me to take macro photos with the lens I already had. That's when I fell in love with macro photography.

The process is pretty easy - plus you feel a little dangerous! You remove your lens from your camera, then turn it around so the front of the lens is facing the opening on the camera body. Once you hold the aperture open at the back end (now facing front), you can start taking pictures.

A few tips:

  • The depth of field will be very shallow. (I personally really like that.) You want to make sure you brace yourself when you photograph, since even leaning a little will change what's in focus.
  • Use a longer lens. The longer lens you use, the bigger the depth of field and the smaller the magnification.
  • You need a lot of light! You don't want those photos to be shaky.
  • Play around with the shutter setting. The camera won't be able to control the aperture since the lens isn't attached, so you'll have to adjust shutter and ISO accordingly.

For Christmas, I received a reversing ring. (Thanks, Nathan!) It's awesome! It holds my lens on my camera backward so I don't have to wear my wrist out. I highly recommend it!


The above photos were taken with ACC's macro lens. The ones below were taken with the lens reversing method.


Comment

Best of 2015

4 Comments

Best of 2015

It was a full, productive, and rewarding year. God has been faithful!

Academically, designing a portfolio was definitely one of the more challenging tasks this year. It was also one of the most rewarding and I learned so much. I'm so grateful for the strenuous Portfolio Development class and that assignment in particular.

4 Comments